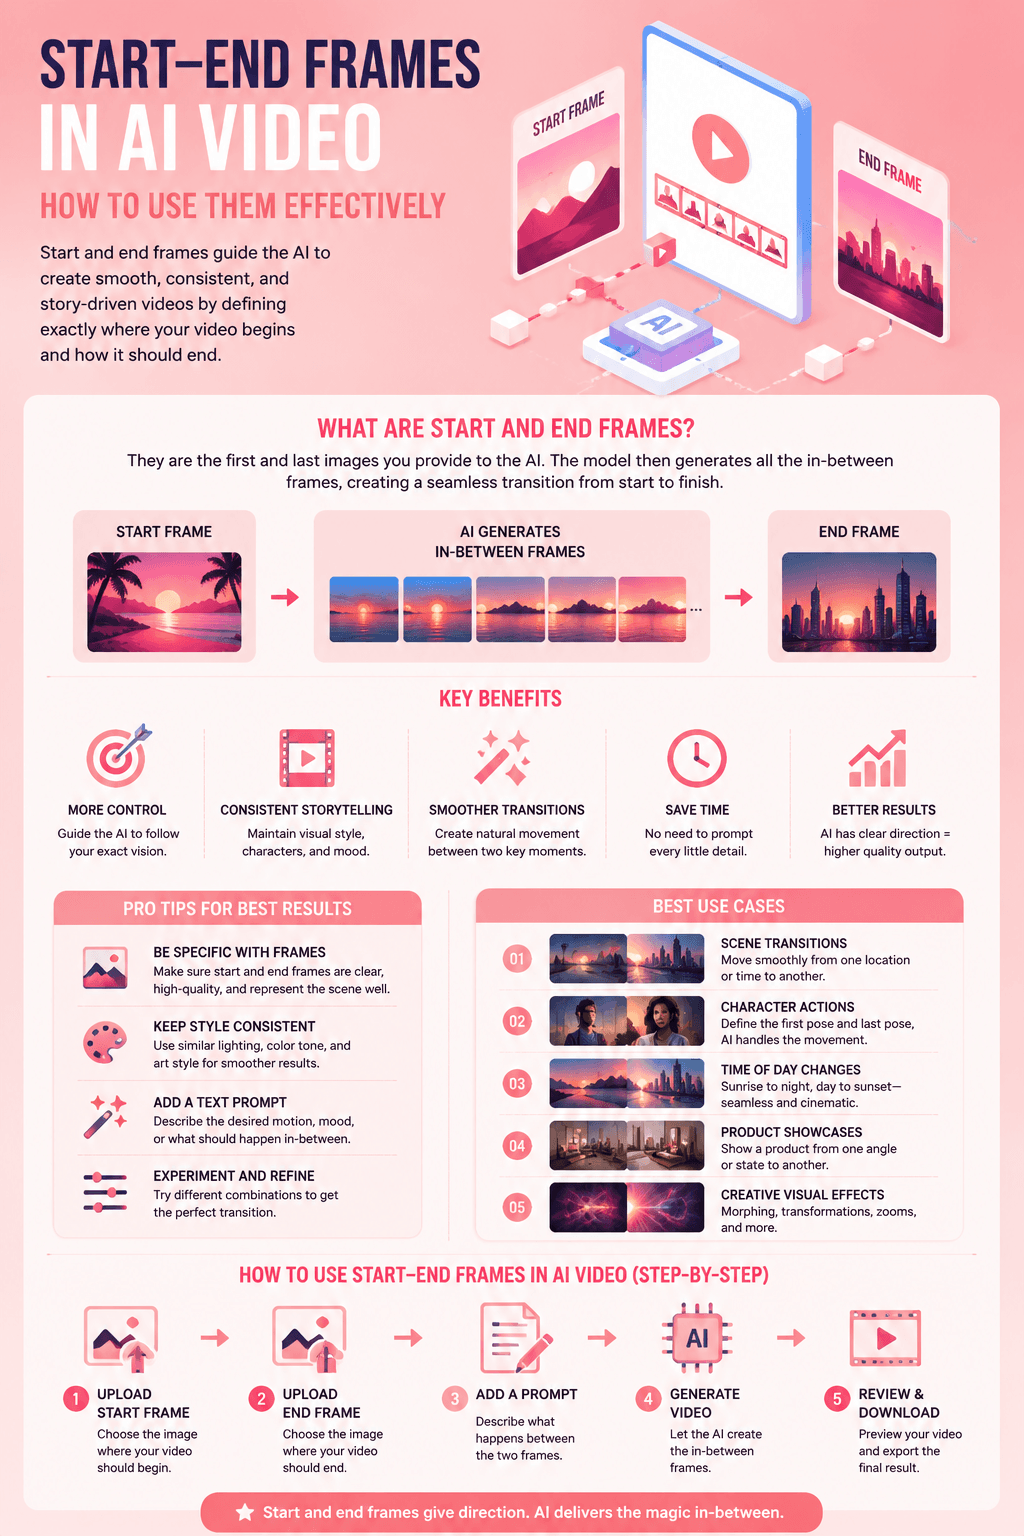
Start-End Frames in AI Video: How to Use Them Effectively
Keyframes give AI video real direction. Here’s how start-end frame control actually works in Kling, Pika, Runway, and Luma, step by step.

AI video tools have come a long way in a short time. What started as short, experimental clips now looks more like real, directed scenes. One feature driving that shift is Start-End Frames, also known as keyframes. In this article we’ll explore the start-end frames (keyframes) in AI video and how to use them effectively.
Keyframes give AI video a clear sense of direction. Without them, motion can feel loose or random. With them, you can anchor scenes, shape movement, guide timing and keep your story consistent from shot to shot.
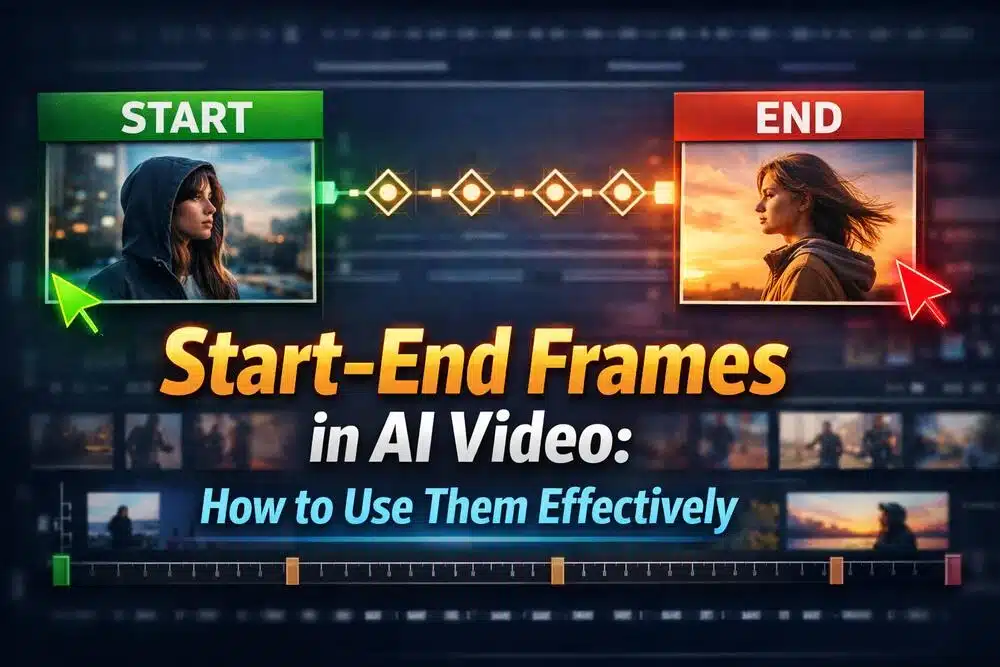
This guide explains what keyframes are, how they fit into AI video workflows, why they matter and how to use them step by step to create stronger, more predictable results.
If you want to see which platforms support keyframes and what models can use them, check AI Creators Tools https://aicreators.tools/feature/71
What Are Start-End Frames (Keyframes)?
At a basic level, keyframes are anchors that tell the AI:
“At this moment, the frame should look like this.”
Think of them as waypoints in an animation. AI Video keyframes
Start Frame – How the scene looks at the beginning.
End Frame – How the scene should look at the end.
Intermediate Frames – The frames the model generates in between, so on motion and context.
In classic animation, artists set key poses and others draw the in-between frames. AI works in a similar way. You set the anchors, and the model builds smooth transitions between them.
Without keyframes, motion can drift away from what you had in mind. So, with them, you can guide poses, framing, camera moves and even emotional shifts.
Why Keyframes Matter in AI Video
AI models can create motion. But they need structure to make that motion feel directed. Keyframes provide that structure.
Here’s what you gain:
- Intent-Driven Motion. You decide where things start and where they end. That gives the AI clear instructions instead of leaving it to guess.
- Camera Movement Guidance. Some tools let you change camera angles between keyframes. You can control zooms, pans and shifts in perspective.
- Timing Control. You can attach keyframes to timestamps. In addition, that helps sync movement with music, dialogue or sound effects.
- Continuity Between Shots. By locking in poses and positions, stitched clips feel connected instead of scattered.
- Repeatability. Since you define the structure, you can iterate with more confidence. The AI isn’t inventing the flow — you are shaping it.
Many AI video tools now include built-in keyframe features in their editors or preview panels. If you’re comparing options, it’s worth checking which models support start and end frame control.
Which tools actually support this, and what they call it
Keyframe support varies meaningfully by platform, and it’s worth knowing the specifics before choosing where to build a workflow.
Kling AI includes native start-and-end frame control as a core feature, letting you define both anchor images directly and generate believable motion between them, a capability frequently cited as one of its strongest points for physically accurate motion. Pika 2.5’s version of this feature is specifically branded Pikaframes, letting you upload a start image and an end image and generate the transition, widely considered the most precise implementation of this exact workflow among current tools. Runway builds keyframe and camera-move control into its broader Gen-4.5 workspace, aimed more at users who want frame-level editing control as part of a larger production pipeline rather than a single standalone feature. Luma Dream Machine offers a similar define-start-and-end-image workflow, particularly suited to cinematic camera movement and HDR output.
Which one fits depends on the job. Pika 2.5 and Kling are strong starting points if precise start-to-end control is the main goal. Runway is the better fit if keyframing is one part of a larger editing workflow that needs tighter creative control throughout. For a broader look at how these capabilities are reshaping video production overall, OpenAI Suite’s guide to AI’s impact on filmmaking covers the wider context this specific feature fits into.
How Start-End Frames Work: Step by Step
Each platform is a little different. But most follow a similar process.
Step 1. Choose Your Tool or Model
Look for an AI video tool that supports structured motion or scene continuity. So, keyframes are usually found in more advanced systems.
Step 2. Define Your Start Frame
Create or select the opening image.
You can:
Uploading a reference image. Bring in a visual you already have.
Generating a frame via prompt. Moreover, let the model create the first scene.
Using a previous frame. Grab a still from an earlier clip.
Make sure this frame clearly shows the elements you want to anchor.
Step 3. Set Your End Frame
This is your target state. What should the scene look like when the motion ends?
It might be:
A pose change. The character raises a hand.
A camera shift. The shot zooms out.
A location move. The character walks across the room.
A mood change. The scene moves from day to night.
Step 4. Add Intermediate Cues (Optional)
Some tools allow extra anchor points.
You might add:
Mid-scene poses. Guide specific body positions.
Camera references. Suggest angle changes.
Sound markers. Match motion to audio beats.
Object tracking points. Keep items steady in frame.
The clearer your anchors, the more predictable your output.
Step 5. Add Motion Prompts
Along with keyframes, describe the movement in text.
You can include:
Direction. “Walk forward, pause, turn left.”
Timing. “Reach the table in two seconds.”
Camera behavior. “Slow pan to the right.”
Prompts don’t replace keyframes. They support them.
Step 6. Generate and Review
Run the clip and watch closely.
Check the key poses.
Watch how transitions flow.
Look for timing issues.
If you’re building a longer scene, test at lower resolution first. It saves time.
Step 7. Refine and Iterate
This is where keyframes really help.
You can:
- Adjust a keyframe slightly. Fine-tune the pose or framing.
- Add a mid-frame cue. Fix awkward motion.
- Change timing. Improve pacing.
- Reroll a single segment. Keep the rest intact.
Because you’ve anchored the structure, small changes are easier to manage.
Practical Use Cases for Keyframes
You don’t need to be an animation expert to use keyframes. They’re useful in everyday creative work.
Narrative Shorts
Start: character by the door.
End: character seated at the table.
Add motion and a slow camera pan between.
Dance or Music Visualizers
Set key poses that match the beat. Sync motion to music for tighter rhythm.
Product Demos
Start with the product closed.
End with it open or activated.
Guide the reveal with controlled movement.
Explainer Videos
Shift focus from speaker to diagram without breaking continuity.
Virtual Vlogs or Reels
Anchor smooth transitions between virtual backgrounds or personas.
Tips for Better Keyframe Results
Keep Frames Distinct. If start and end look too similar, motion may feel generic.
Use Multiple References. Some models accept several images to add detail and context.
Match Prompts to Visual Anchors. Describe motion that connects your defined frames.
Control Timing Clearly. Add time markers if you want specific pacing or rhythm.
Split Long Scenes. Generate in smaller chunks with overlapping frames to maintain consistency.
Start-end frames are one of the most useful tools in modern AI video workflows. They add structure, continuity and predictability to generated motion. What once felt chaotic can now feel directed and intentional.
With keyframes, you’re not just producing clips. You’re shaping scenes with purpose. Whether you’re creating shorts, demos, visualizers or social content, keyframes help turn your idea into a controlled, polished video.
AI video keyframes FAQ
Kling AI, Pika 2.5 (branded as Pikaframes), Runway, and Luma Dream Machine all support this workflow, though implementation and precision vary. Pika 2.5’s Pikaframes is generally considered the most precise dedicated implementation; Runway integrates it into a broader editing workspace rather than as a standalone feature.
A prompt describes intended motion in words, which the model interprets. Keyframes anchor the actual visual state at specific points, the start and end, and sometimes intermediate points, giving the model concrete visual targets rather than relying entirely on text interpretation. The two work best together: keyframes for structure, prompts for the motion connecting them.
No. Kling and general industry usage typically call it “start and end frame control.” Pika brands its specific implementation “Pikaframes.” Some tools describe the same general concept under “keyframes” or “reference frames.” The underlying capability, anchoring a clip’s beginning and end state, is consistent even when the branding differs.
Infographic